|
Windmill Sail Restoration by A.J. Wodack - November , 2001
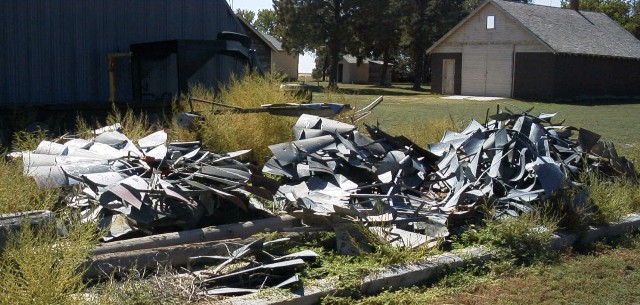
With the likelihood of damaged or bent sails accompanying a windmill find, it is important to know
how to salvage the sails to keep as much of the original windmill as you can. This is important from the standpoint of both
cost and authenticity. After gathering up the windmill and the parts you should determine what is salvageable and what is
junk. No sense on wasting labor on junk. Beware! before you throw anything away, a lot of sails that may look junky may actually
be salvageable.
There is nothing more labor intensive than taking sails apart!! You may want to free a rusted up tight mill motor
before tackling sail disassembly. But the rewards far out weigh the heavy labor to take a bent sail and return it to a useful
life!! After working off and on, on sail disassembly for well over a year, I've learned a thing or two to make it a little
easier, I'll share some tips that I've learned in the school of hard knocks......
Rivets are the main obstacle. You have to get the rivets out before you can remove the sail from the small and
large wheel rings. I've tried it all..... Well at least I think I have.....
The torch..... Not only do you get that dreaded green and white flame from the galvanizing that's not too healthy
if you breath it, but you have to be on the mark blowing the rivets out. More likely than not you'll mess up the wheel ring,
sail, or rib, OR all of the above. Avoid it.
The grinder.... About the same thing as the torch when you get the rivet hot, that galvanizing gas well get ya.
If your precise in knocking the rivet head down to size without grinding the other parts of the sail section, you still have
a small lip to contend with on pounding out the rivet. Avoid it.
The hammer and chisel...... Ouch!! Watch them fingers!!
The drill..... This is more successful way of getting the rivets, but getting it dead center may be a problem to
drill straight through. But I still resort to the drill especially when working with 3/8 inch or larger rivets, and just drill
through the head of the rivet so it's easier to snap off with my next tool.......
The air chisel....... I've had more success with this tool, than any others. It's much faster than the others mentioned
above. But this tool has it's hazards too. Ware your ear muffs!! It's not fun having your ears ringing for a couple of days.
Get that eye protection on!! There is a lot of kinetic energy in those rivet heads when they snap off. They will ricochet
around the shop.
Now that we have the tools of choice, (the drill for 3/8 inch or larger rivets, and the air chisel) it's time to
do a little tool bit modification on the air chisel. The bits of the air chisel come with a double bevel or taper at the end.
We need to grind it down to a single sharp bevel, that way we can work between the rivet head and the work piece without leaving
a small lip around the edge. We're shooting for a clean break. If you left the bit with the double bevel you would get this
lip, and makes it hard to pound out the rivet.
It's time to attack those rivets, but first locate the largest head. As the rivet was pressed in or set at the
factory there is a discrepancy in head size, one side is going to be larger than the other. You want to cut off the largest
of the two. I'm not sure why, but the large head pops off faster and easier than the small head. It's also easier to get the
chisel to stay put on the large head, and control the business end of the chisel. Dempster, Stover, Fairbury, and others rivets
are very light and extremely easy to pop. Aermotor are a little tougher, especially when you get into the 10 footer and larger
sail section end. Here I use the drill on the large wheel ring rivets. I just drill through the center of the large head with
1/4 inch drill bit. But drill just deep enough to get to the base of the work (ring). Aermotor uses a heavier galvanizing
on their sails, and it well chip and flake off more readily. Even a shot of high pressure air well do this. Though others
well do this too, it's not as bad as the Aermotor.
Air chisel with modified bit. 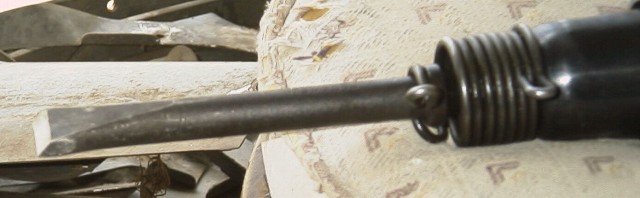
Remove the rivets from the large wheel band. 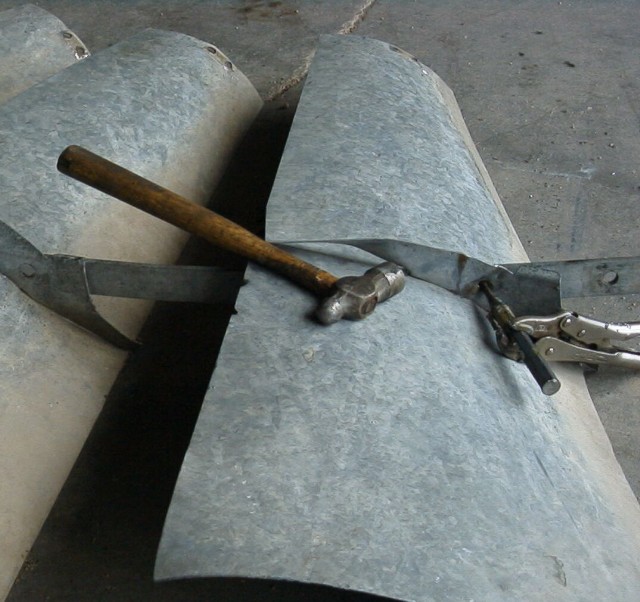
|
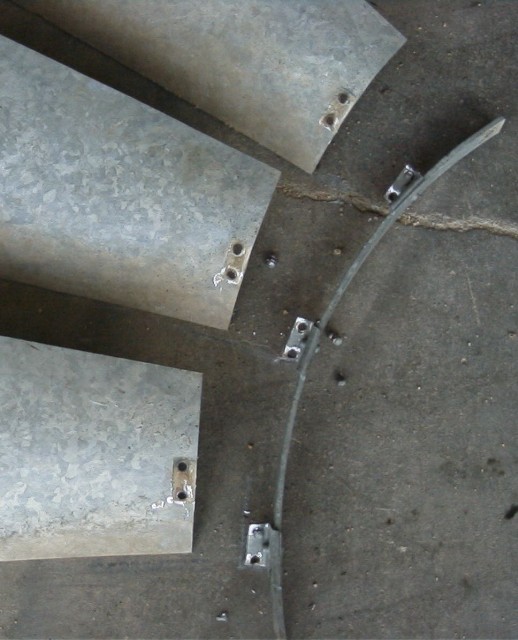
After chiseling the rivets the wheel band will seperate from the sail with the clips/braces still attached to
the band.
|
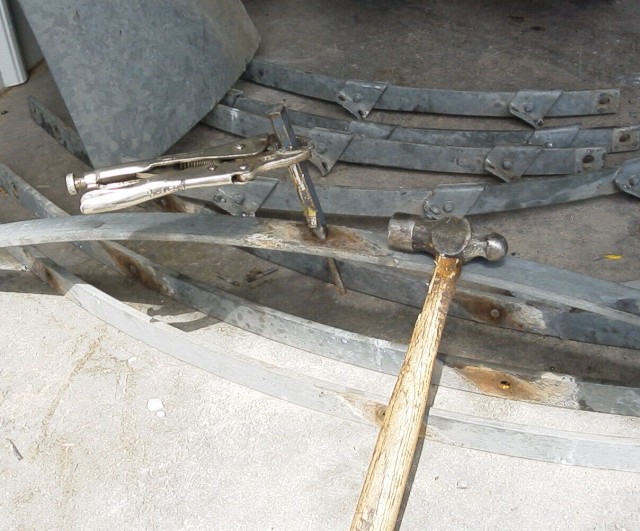
Use a punch and hammer to knock out the rivets. |
|
| |
|
| |
|
I always start off by knocking off the heads on the large rings first, then go up to the small ring.
It is easier to have the ring still held together when you pop off these rivets. I leave the small ring sail clips on the
small ring and just pop off the rivets from the sail section. That way I have a clean sail to work with, and when I put the
sail back together the small ring sail clips are still riveted and I only need to bolt the sail.
After all the heads of the rivets are off the sail section, it's time for the drift and hammer. I clamp on a vice
grip pliers to the drift, and use the vice grips as a handle to hold the drift, this has save my fingers many a time!! Just
wish I could say the same for my shins......;-)
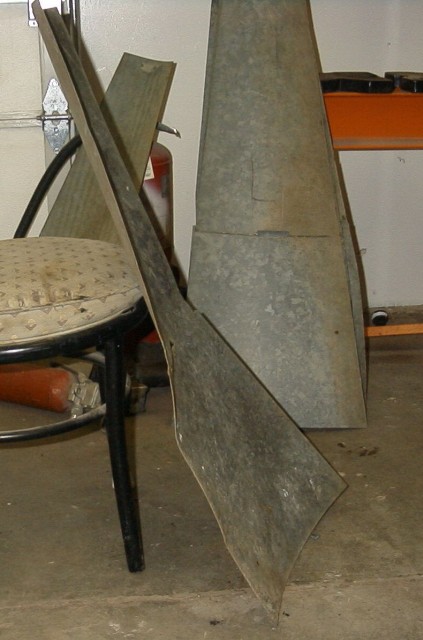
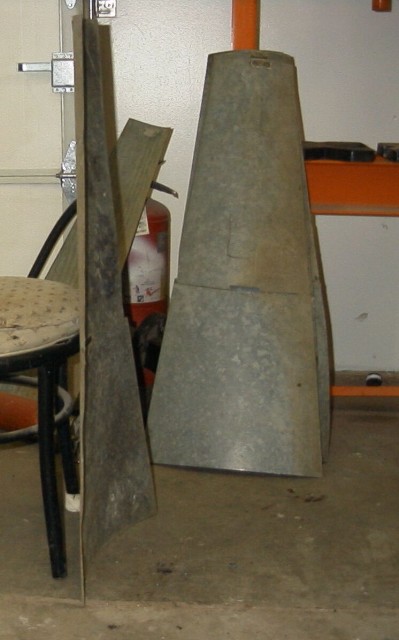
Now that the business end is done, disassemble the sails from the large wheel ring. Each sail will need a little
prep work before it can be placed in the 'Slip Roll' machine depending on how bad the bend is. A lot of times when popping
off a rivet, the rivet will actually pull through the tin. These dimples need to be hammered flat. A 50 pound anvil and ball
peen hammer comes in handy for this. If you have a bullet hole, this is a good time to close this hole up. If you are careful,
you can lay the tin back down to where you would only have a crack from where the bullet hole was at. Re-galvanizing should
cover up this crack to where it shouldn't be visible. Depending on how much of a bend the sail has one may have to do a slight
adjustment to straighten that bend before it goes into the machine. I find a 'size 13' boot (Your size may be differ, but
still effective.) works wonders with this kind of adjustment.
Gentle bends come out the best from the machine, but don't discard those sharp, or creased bent sails. You can
still get a respectable looking sail, though you may have a 'Cat Face' (Old army term for a wrinkle, generally in the uniform.
I'll coin this term for sails now.;-) in it.
|
|
|
| |
|
|
Add your content here
|
|
Center the sail in the machine. Depending on how much of a bend you have in the sail, you may have
to open up the roller adjustment to fit the sail. Then work the adjustments to closer tolerance to the thickness of the sail
tin, as you roll from the center and going back and forth working the sail to the edges. Adding a little extra curve isn't
going to hurt anything, your small wheel ring clips and large wheel ring ribs well set your final sail curve. This is a 'guess
and by golly' 'looking right' call. And you always have that 'size 13' adjustment if need be. You'll get the hang of it after
do'in a couple. The beaded sail is rolled out somewhat flat, and a new bead is replaced with the beading machine. The bead
line is distinctive enough, so it is easy to follow the original line.
Setting the sail in the roller. 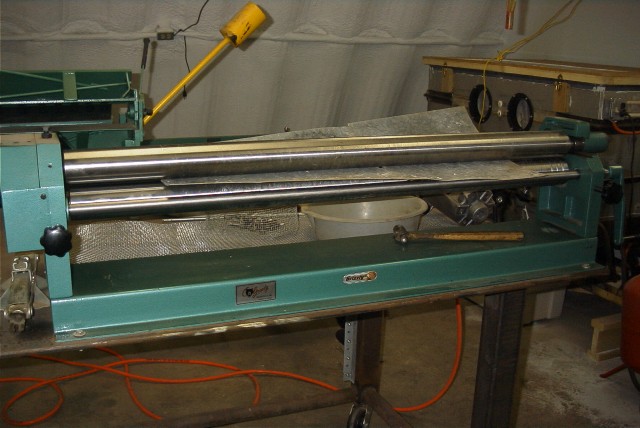
|
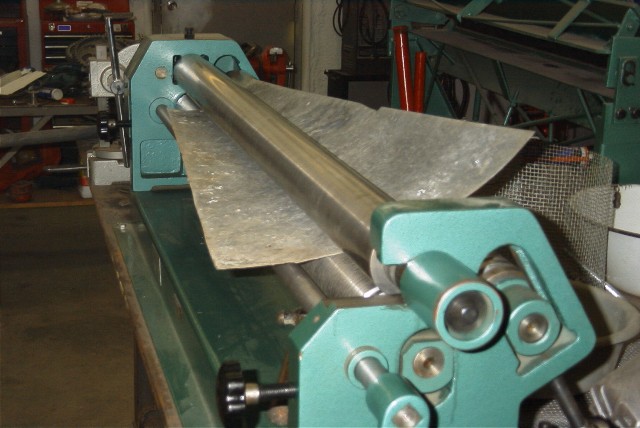
Center the sail so you can work the sail back and forth like rolling dough. |
| |
|
| |
|
The beaded sail presents it's own problems, mainly because of the bead. There are many different bead
styles from narrow to wide, from curved to a gentle 'V' shape which can be seen as you look at it on it's edge. I just have
a standard beading machine with 3 different style curved bead dies from narrow to wide. I just select the width of the bead
from my die set to match the original width of my beads. And my shape well always be curved. When you run the sail through
the beading machine only do it once, if you run it back and forth, the sail distorts and or flattens out.
Don't be afraid to use the old "size 13". 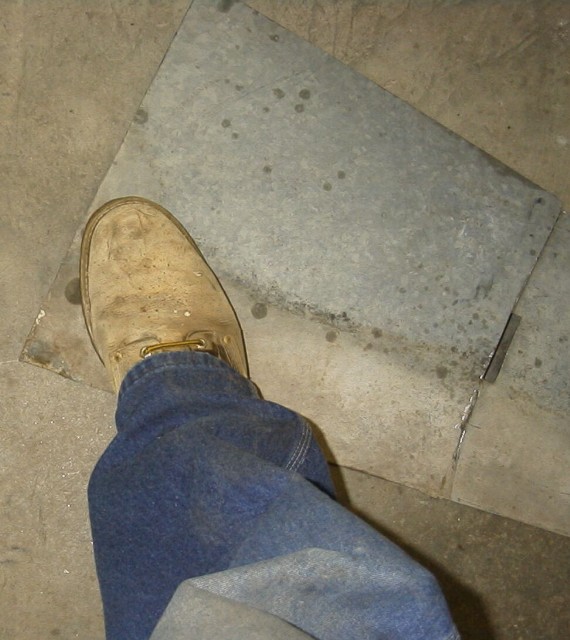
|
|
| |
Rolling a bead on a Dempster sail. 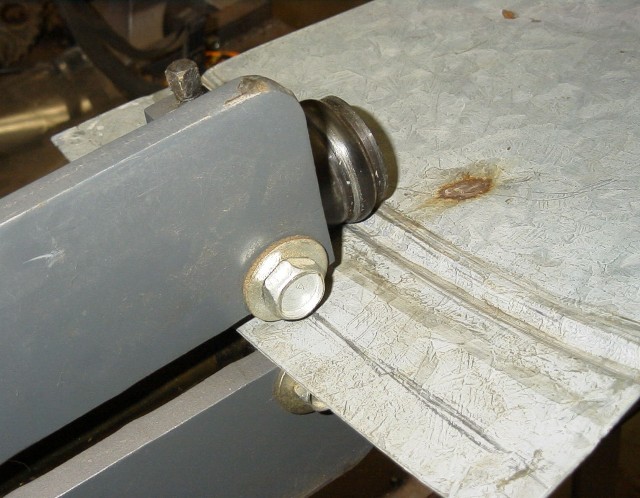
|
| |
|
| |
|
Putting it all back together, but what type of fasteners to use?? Rivets would be nice, but I have
yet to find a machine to handle all the different styles, shape, and sizes of rivets these different manufactures used in
their sails. The rivet machines that would come somewhat close, to do what I want to do, are the large industrial type, and
expensive!! These machines would be okay if you just specialized in one sail manufacture. And have the big bucks!!
I opted for nuts and bolts, trying different kinds. I'm now zeroing in on serrated flanged nuts and ribbed neck
carriage bolts (The neck rib part not being more than 1/4 inch in length). Using the carriage bolt head on the tin side of
the sail and the serrated flanged nuts on the clip or wheel ring side. Makes for a very stable sail section when it's all
put together!! Even more stable than a stock rivet sail section...... I think...... If your worried about the nuts coming
loose, just peen the bolt.
Depending on the scratching and flaking of the galvanizing when doing the work on the sail section, you may want
to get the sail section re-galvanized.
With patience and a little care the sails look almost new and are well worth the effort.
While the results of refurbishing your own sails can be rewarding, it is
a time consuming process and without proper tools it can prove to be a frustrating project. See our eBay Store page as we offer an outstanding collection of vintage used sails, vintage wheel sections
as well as new and vintage complete wheels for Dempster and most other pre WWII windmills.
|